|
Print Report |

  
|
|
Print Report |
|
This command will start the actual printing process for data that has been setup previously.
PRINT_REPORT
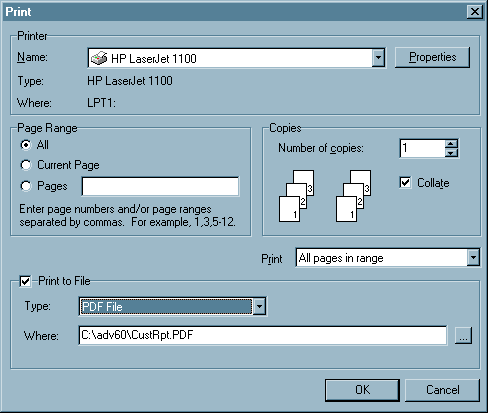
USE_PRINTER f/c/e If you specify a printer name here the report will print directly to that printer without any further user action. You can also specify the printer as 'ASK' and the program will skip the preview screen and display the printer dialog box (as shown below) to allow them to choose a printer or print to disk.
PRINT_TO_FILE f/c/e If you want to print directly to a file instead of the printer or preview enter the file type here. The options are: ptfRTF, ptfPDF, ptfCSS2, ptfHTML, ptfJPG, ptfExcel, ptfQuattro, ptfLotus, ptfRETF, ptfText, ptfBMP. These constants are in the CompilerConstants.txt file.
| NAME f/c/e | If you choose the PRINT_TO_FILE option above you can also specify the file name here. If you don't include this option the file name will be the name of the current program with the appropriate extension. If you don't specify a path the command will use the same path as the current program. In all cases, the extension will be changed to the appropriate type for that file, for example, ptfPDF will always be .PDF. |
NOPRINTWHRDIALOG If you specify this option the program will not display the Print Where dialog to the user. This would generally apply when you are printing to a file and don't want to have any further user interaction with the program.
| COPIES f/c/e | Specify the number of copies you want to print here if this report is going to the printer. The default value is 1. |
COMMENTS
The reporting process within your program should be similar to the following:
1. Setup the printer data buffer (SETUP_REPORT_BUFF).
2. Add data to that buffer (OUPUT_REPORT_DATA).
3. Adjust that data if necessary (UPDATE_REPORT_DATA).
4. And finally, print the report (PRINT_REPORT).
When this command is executed, the user will have the ability to choose where to send the report. The options include:
1. Any printer that you have access to, connected to your computer or over a network.
2. You can also output to the following file formats: Excel, HTML, PDF, RTF and others. Each of these is available to your user at runtime. All they have to do is choose the appropriate format and enter a file name. See the example below.
You can print the report multiple times without having to access the data again by executing this command multiple times. For example, if you wanted to print this report twice on two different printers you might do the following:
PRINT_REPORT USE_PRINTER 'HP2000C'
PRINT_REPORT USE_PRINTER 'HP LaserJet 1100'
The first time the report will print on the printer named "HP2000C" and the second time on the printer named "HP LaserJet 1100." It doesn't matter where those computers are, as long as they are registered on your computer.
NOTE: If you want to print directly to the default printer use this.
print_report NOPRINTWHRDIALOG use_printer 'default'
The default preview screen is maximized if this need to be changed you can add this to the taspro.ini to control window state Height and Width.
[Report Preview]
WindowState=wsNormal
;WindowState=wsMaximized
Height=700
width=950
Note: If you are chaining to your print program with a newruntime you may need to do this to prevent Zorder problems.
set_object get_form_name() property 'Visible' value false //make your print selection screen invisible.
print_report
set_object get_form_name() property 'Visible' value true //make your print selection screen visible.
SEE ALSO
REPORT_LINES SETUP_REPORT_BUFF OUPUT_REPORT_DATA (UPDATE_REPORT_DATA TASPRO.INI
NOTE: While working on a project with a Label printer we needed to make a label with a width of 4" X 2" High orientation was set to landscape. When we tried to print this we got a blank page printed. So what we did was make a custom paper size settings of 11" Wide x 2" High Landscape this worked perfect on our 4" wide printer. So when you work in landscape the width is relative to the printer.... Also by using the margins we could move our label left to right top to bottom.
Page url: http://www.cassoftware.com/tas/manual/printreport.htm